
After installation – what happens next
After installation – what happens next
Welcome to the next phase of your solar journey! Now that your solar system is installed, you might be wondering what comes next. This article will guide you through the essential steps following installation, from setting up your inverter and monitoring your energy production, to making the most out of your solar investment.
1. System Safety Check
As part of the solar installation process, energy distributors require a safety check and final review of the system.
Depending on which state you are in the regulations (and names) for this Certificate of Compliance process are different with the most common being:
- New South Wales: Certificate of Compliance Electrical Work (CCEW)
- Queensland: Electrical Safety Certificate
- Victoria: Certificate of Electrical Safety (COES)
In Queensland and New South Wales, this safety check is done by the electrician who installed your solar at the time of installation. They perform a thorough step-by-step check of the system and then sign the Certificate of Compliance for your solar installation. Occasionally these are audited by a third-party inspector, but not regularly.
In Victoria this involves an independent solar inspector that Arkana Energy arranges, calling you to arrange a site visit and inspect your new solar solution to ensure your system is safe, that it complies with the latest regulations and that it is performing as expected. The independent solar inspector then produces a Certificate of Compliance which is sent to us at Arkana Energy for processing.
2. Grid Approval & Connection
After a successful inspection and the issuance of your Certificate of Compliance (COC), we start the paperwork for your Electricity Work Request (EWR).
The EWR is a formal document sent to your electricity distributor, seeking permission to connect your new solar system to the grid. It includes technical details about your system. Once approved, your solar system can be connected, allowing you to generate solar energy and earn feed-in tariffs for surplus power.
3. Electricity Retailer Notification & Solar Meter Configuration
After your solar system is installed, if it’s a brand-new install (not a panel/inverter upgrade), Arkana Energy engages your energy retailer (for example AGL or Origin) who will complete your meter configuration so that your solar solution can connect to the power grid. This is an essential step to ensure your system is fully operational.
Your energy retailer should notify you when the configuration of your solar meter is complete. If your retailer hasn’t notified you within 28 days of your physical installation of your solar panels it’s worth following them up. Note: your energy retailer will not contact Arkana Energy in relation to your energy account or solar meter configuration.
A word of caution: please refrain from changing your Electricity Retailer at this stage. Once your new solar meter is installed and up and running, you’re free to make any changes to your Electricity Retailer.
4. Wi-Fi Connection & Inverter App Setup
If you missed the chance to set up your Wi-Fi and inverter app during installation, no worries—you can still do it manually. First, download your inverter’s monitoring app from your app store. Then you’ll need to enter your home’s Wi-Fi details into the app and follow the on-screen instructions to pair it with your inverter. If you need a helping hand, our step-by-step guide can walk you through the process: Connecting Your Inverter Wi-Fi.
5. Inverter Switch On
Once your energy retailer has confirmed that your new solar meter is connected and operational, it’s time to switch on your solar system. Turning on your inverter to start harnessing solar power is a straightforward process. Just follow the steps outlined in our guide: Turning On Your Inverter. It won’t take more than a few minutes, and you’ll soon be on your way to generating your own clean energy.
6. Monitoring Your Solar Production
Monitoring your solar system is straightforward with the inverter’s monitoring app, which should now be connected to your Wi-Fi. Within the app, you can see real-time data on your solar production and energy usage. Additionally, some homeowners like to physically check the inverter unit. You’ll find a digital display on the inverter itself, showing key statistics like your current solar output. Making a habit of either checking the app or the inverter’s digital display weekly or fortnightly can help you stay on top of your solar system’s performance.
7. Finalising Rebate Claims
Depending on which rebates you took advantage of as part of the solar installation process there may be a few small steps to take to finalise the rebate claim.
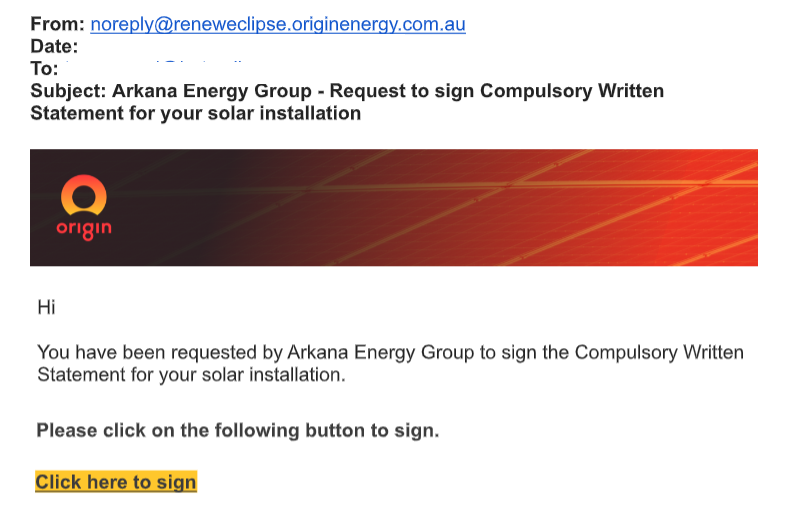
Federal Solar STC Rebate: Just one quick step to take to finalise/claim this rebate. After installation you will receive an email from Origin (who handles Arkana’s STC claim, regardless of what energy provider you’re with) to confirm/sign the written statement for your solar installation – please ensure you keep an eye out for Origins email and click to sign once it comes through:
Solar Victoria rebate: Your application should be complete through the portal and provider QR code scanned by our installers on install date. We will be in touch if there are any final steps we need you to take to confirm this rebate.
8. Making the Most of Your Solar
You’ve got your solar system installed and running; now it’s time to maximise its benefits. Adapting your energy usage patterns can make a significant difference in your savings. For instance, try timing your high-energy appliances like dishwashers and washing machines to run when your solar production is at its peak. For more tips and strategies, check out our in-depth guides: Making The Most Of Your Solar.
- Changing your energy usage
- Timing appliances
- Moving away from gas
- Choosing an energy provider
- Maximising peak/off-peak/free times
- Feed in tariffs and how they work
- Hot water timers & diverters
- Electric vehicle (EV) charging
9. Maintenance & Cleaning
After your solar system is up and running, it’s crucial to keep it in optimal condition to maximise its performance. One simple yet effective way to do this is regular cleaning. Over time, dust, bird droppings, and other debris can accumulate on the solar panels, potentially reducing their efficiency. While rain will naturally wash away some of this build-up, it’s a good idea to manually clean the panels every few months. Use a soft brush and soapy water to gently scrub the surface, or consider hiring a professional cleaning service for more thorough maintenance.
Find out more in our regular maintenance guide here.
10. Troubleshooting and Error Messages
If you encounter warning lights or error messages on your inverter, don’t panic. These are usually your system’s way of communicating an issue that needs attention. Check your inverter user manuals for the meaning of specific messages. For persistent or unclear issues, see the troubleshooting section of this website or our customer support is always available to help guide you through resolving them.
Congratulations, you’ve successfully navigated through the post-installation phase of your solar system. From turning on your inverter to monitoring your solar production, you’re now well-equipped to make the most out of your investment. For any more queries or continued support, don’t hesitate to check out our extensive support website.