
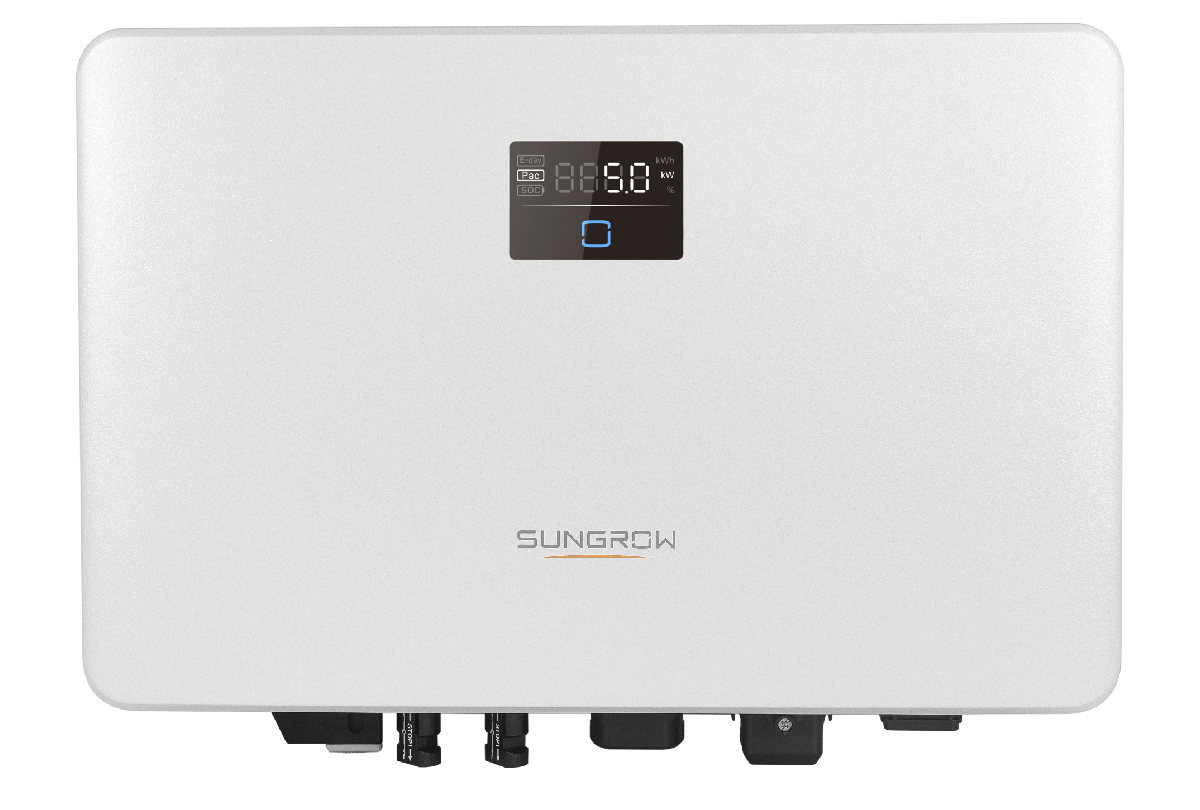
Start up / Turn on procedure for Sungrow inverter
Start up / Turn on procedure for Sungrow inverter
Your energy retailer will advise you after they have connected you meter that is safe to turn on your solar system.
Step 1 – Turn AC Switch off
Firstly, take a look at the AC Switch inside the switchboard – Labelled MAIN SWITCH (INVERTER SUPPLY) or SOLAR SUPPLY MAIN SWITCH. Please make sure this is in the DOWN/OFF Position before you start the steps below.
Step 2 – Turn DC Isolator on
Secondly, turn the DC Isolator ON – on modern Sungrow inverters this is built into the inverter with a labelled switch on the bottom or left hand side of the inverter depending on model. This should be in the OFF Position. Turn this to the ON Position.
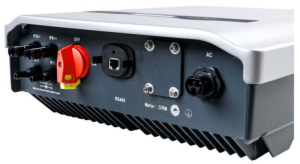
If you have a Sungrow Premium Inverter (pictured below): You may not have a DC Isolator switch located next to your inverter. Instead, the DC Isolator will be located on the bottom side of the inverter, make sure the red switch is in the ON Position.
Step 3 – Turn AC Isolator on
Thirdly, turn the AC Isolator ON – This is also found next to the solar inverter – this should be in the OFF Position. Turn this to the ON Position.
If your inverter is located next to your meter box, there will be NO AC Isolator to turn on.
Step 4 – Turn AC Switch on
Lastly, turn on the AC switch inside the switchboard – labelled Main switch (inverter supply) or solar supply main switch.
If it shows a flashing/red light or an Error Code, there is something wrong and you should contact the team at Arkana Energy.